
Welcome, from sunny Australia!
My Starlet page
including the pics of it bent .... :(
My Starlet page
including the pics of it bent .... :(
When I lived in New Zealand, I decided to
buy myself a car that had some potential to be a light & fast 'round
town transport. I settled on a Toyota Starlet, and found a very nice
1984 model in my local area. I brought the car back to Australia with
me in early January 1999 and for various reasons work has not started
on it until early 2001. I'll be adding a 4AFE 1.6 litre twin cam to it
that has been modified to make about 240hp. The Starlet only weighs
about 780kgs, and so it'll certainly be a fast little 'round town car.
I'm also going to be adding some much bigger disc brakes on all four
corners to help it stop, as the factory brakes are rather small. The
rear end will be fitted with a Toyota Celica RA-45 LSD disc brake
differential that I also picked up in New Zealand.
I have other problems with car - In late
October 1998 I had a 'wee accident' and ran into the back of another
car. There's pics of this further down the page ...
 |
This is the car a day or so after I picked it up in Auckland. Possibly the tidiest and least rusty Starlet I've ever seen. | 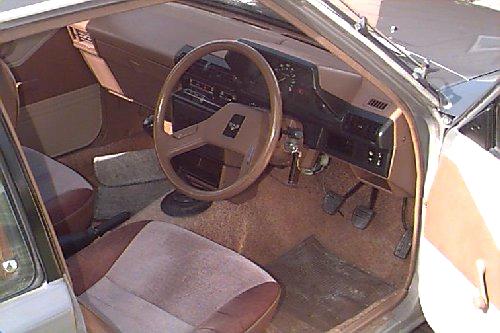 |
 |
The car is very light, so it doesn't
need very much power to push it along. Unfortunately, it hasn't even
got 'very much' power - A '2K' 993cc engine powers it, and it's a tad
underpowered to say the least! The 2K engine - not even a 3K, 4K or
5K - has only about 40hp ... The brakes are the same. In the picture you can see my hand next to the front brake disc. My hand is very nearly bigger than the disc! |
 |
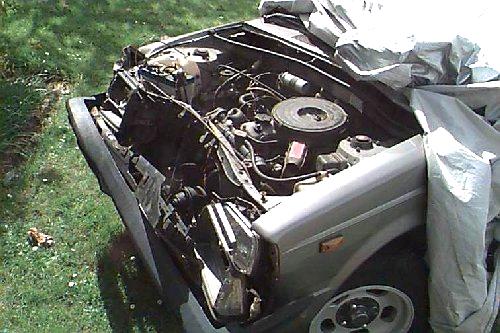

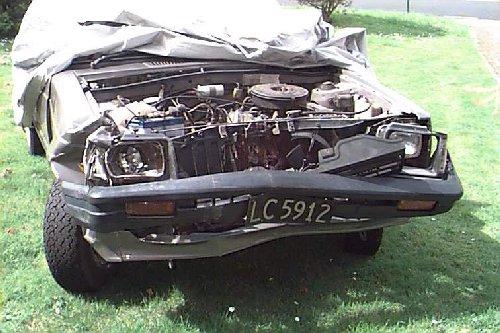
The hazards of driving when tired ... :(:( I fell asleep for a couple of seconds in traffic, and woke up doing about 45kph from an almost stationary car about 5 metres in front of me. Suffice to say, there wasn't time to turn out of the way or stop or even slow enough ... :(
The damage looked pretty darn bad for a couple of days afterwards, but after closer inspection I found that it really wasn't so bad. I decided to fix the car and still take it back to Australia with me. I pulled most of the front of the car off, and this is what it looked like -
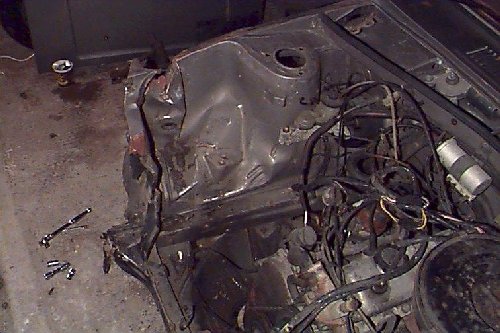
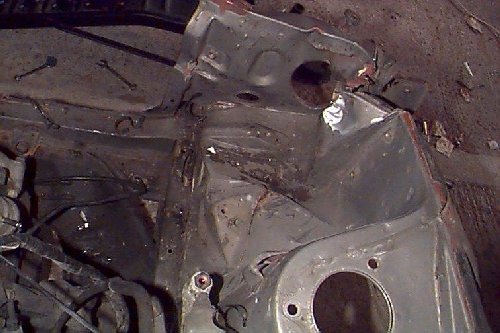
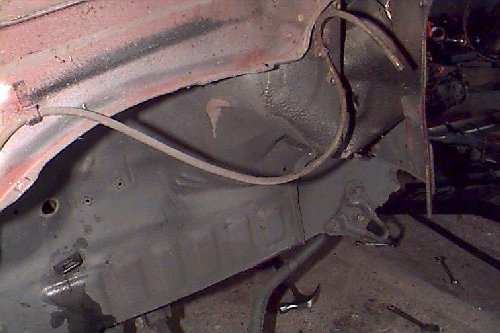
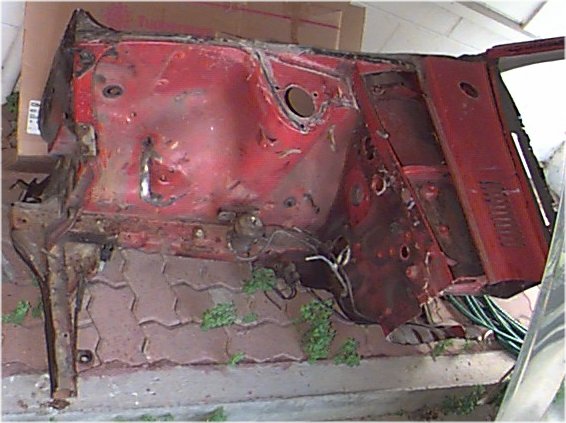 |
This pic shows the front cut of the donor car. I had yet to pick out all the spot welds in this section. |
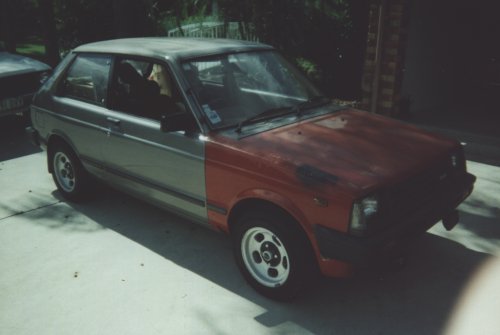 |
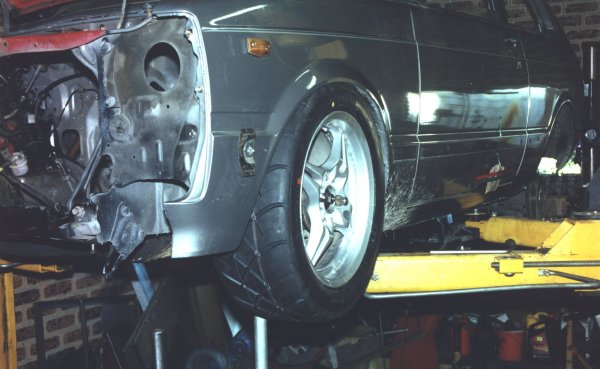
Here's a couple of pics of the car after it arrived in Australia. Whew! Darn glad to see that it arrived ok, and as you can see it's ended up being pretty straight again, and I've got a brand new front-right hand mudguard for it. The rest of the panels will paint up as good as it looked before. | 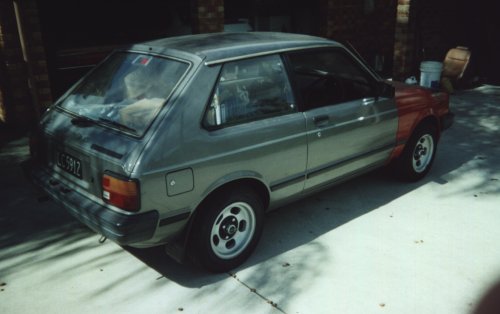 |
I'll be adding a few pics of the repair of the car as time goes by, and also when I start the modifications to add the 4AGE twin cam and disc brake LSD rear end to it.

Progress is finally happening, with the 4AGE engine and T-50 gearbox getting mounts, and the 6.7" diff also finished being fitted. Doing the virtually all of the fabrication work is a friend of mine, Adrian Brooke, who used to work in the late 60's as a Repco-Brabham F1 engineer.
 |
 |
 |
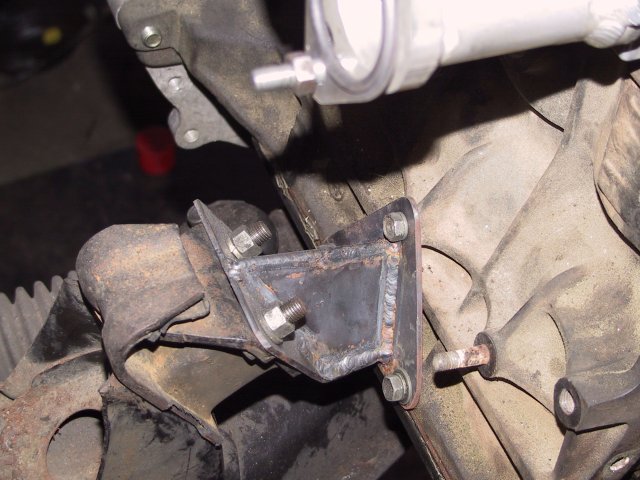 |
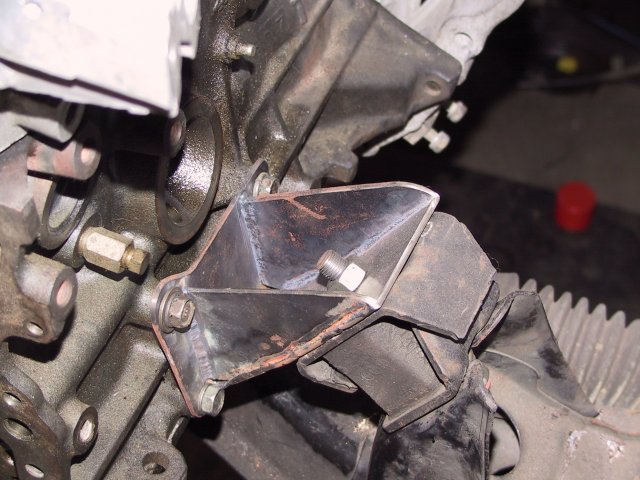
These are the engine mounts that have been made up, and they use the existing KP-61 crossmember, and so the brackets that mount to the engine are hand fabricated. |
 |
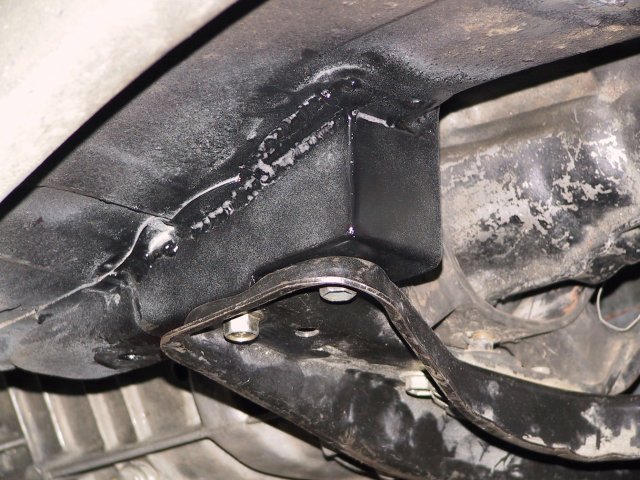 |
The gearbox mounts are also hand
fabricated, and they ended being very nicely made indeed, and almost
look factory. One right you can see that the gearbox is just a half casing, to make it lighter to handle. The gearbox is an early model T-50, out of a TA-22 Celica as they have the gearstick sitting a few inches further forward than the more common T-50 that the AE-86's use. That lets the gearstick stick straight up into the existing hole. |
 |
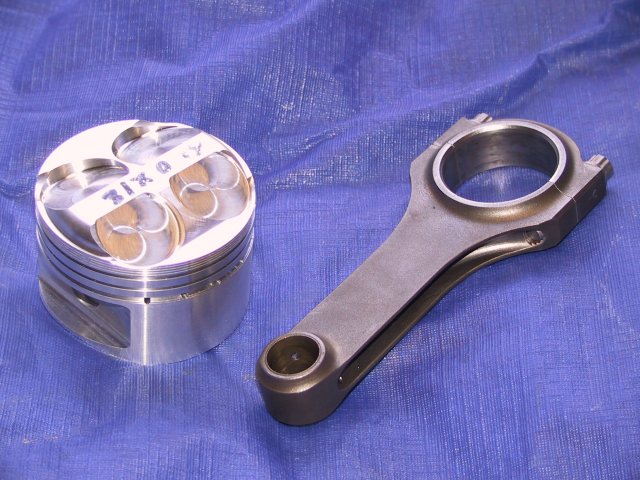 |
This is one of the forged pistons that I'll be using. (I ended up using a more standard type of con-rod, and will be saving the good rods for another project) The pistons were bought from RMSport in the UK, and the TRD/Carillo con-rods from a company in the US. |
 |
The car should be quite fast,
so to make very sure that there wouldn't be any problems stopping I
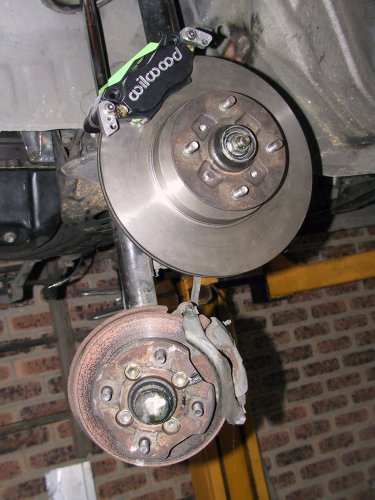
spent a few dollars getting some very good brakes for it. The discs are off the front of a Toyota RAV4, and they only require very small mods to bolt up to the hubs of the AE-86 Corolla struts, pictured on the right. The calipers on all four corners are Wilwod Dynalite four-spots, with Gator Green pads all round. The picture on the left shows the difference in size between the stock brakes and the new ones - no, it's not an optical illusion, they really are that big! That's not the final position for the calipers either, I just sat one there to see how it looked. I haven't finalised the rear brakes yet, but they will be a little smaller. |
 |
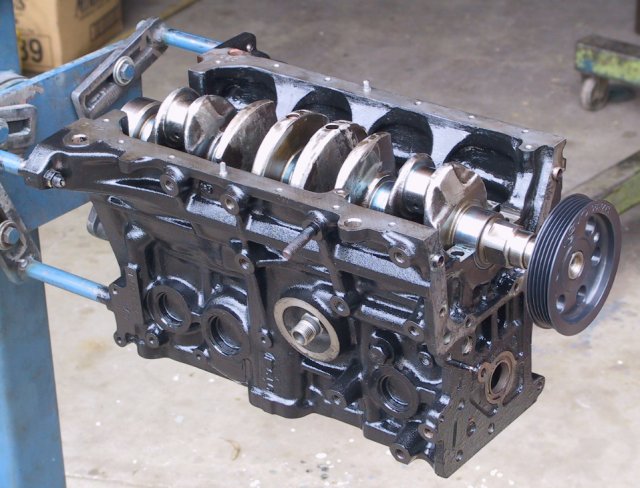 |
This is the new engine as it's coming along. You can see the polished crank, lightened a little, and also the under-drive crank pulley, as made by John Harris of NEVO. The under-drive pulley helps reduce power losses, as the water pump and alternator do not need to spin as quickly as they do. |  |
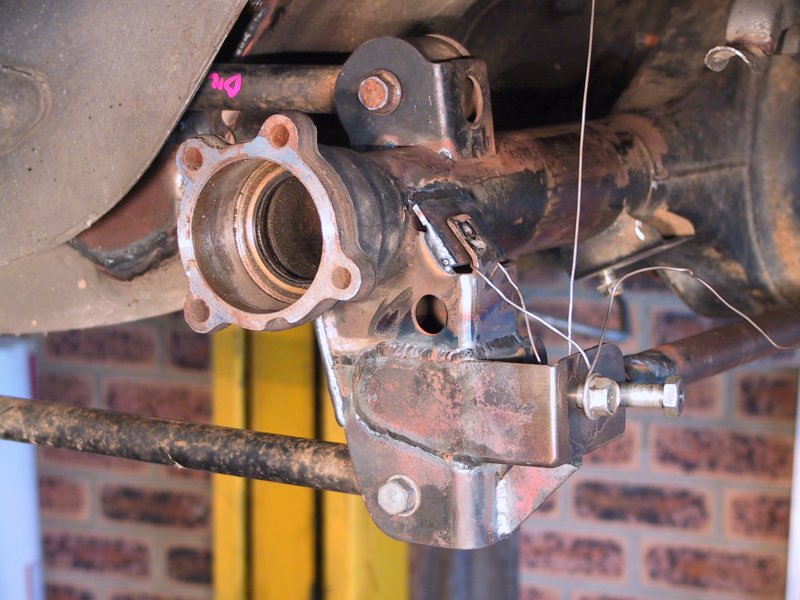 |
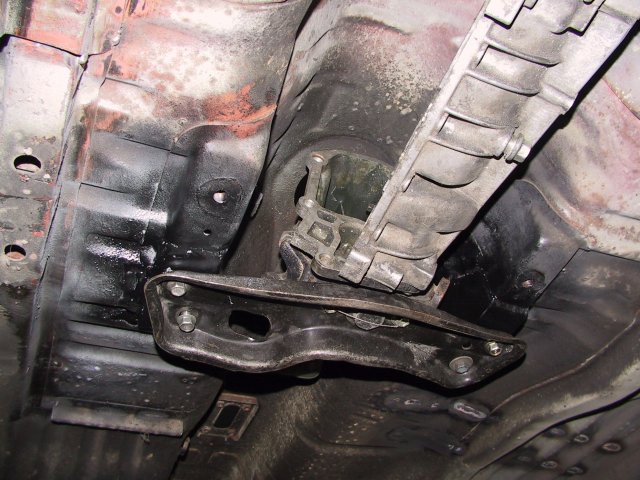
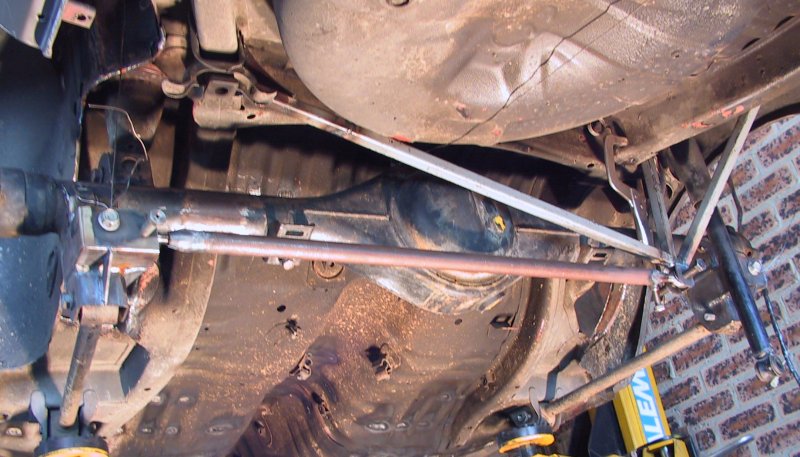
Here's the rear end of the Starlet as the four-link progresses. On the left you can see the upper link as it goes into the floor of the car, the left hand end of the panhard rod's mount, and the bottom end of the damper mount. On the right you can see the bracketry for the right hand end of the panhard rod chassis mount. |
 |
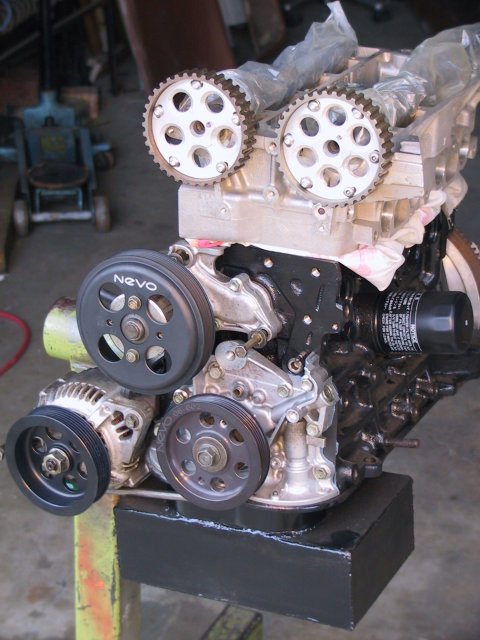 |
On the left is the engine pretty
much as it will be installed in the Starlet. The new cams, still in
the plastic wrappers are sitting in the head and fitted to them are
the adjustable cam pulleys. Also quite noticeable are the excellent
NEVO under-drive fanbelt pulleys. It also has a larger sump & baffles
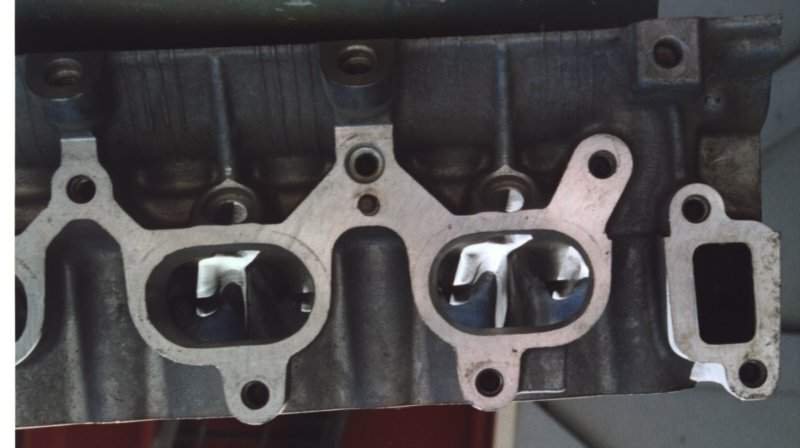
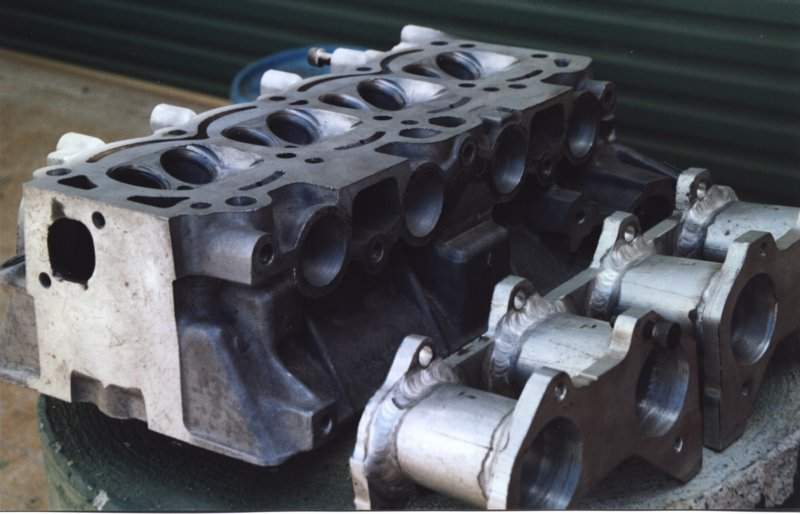
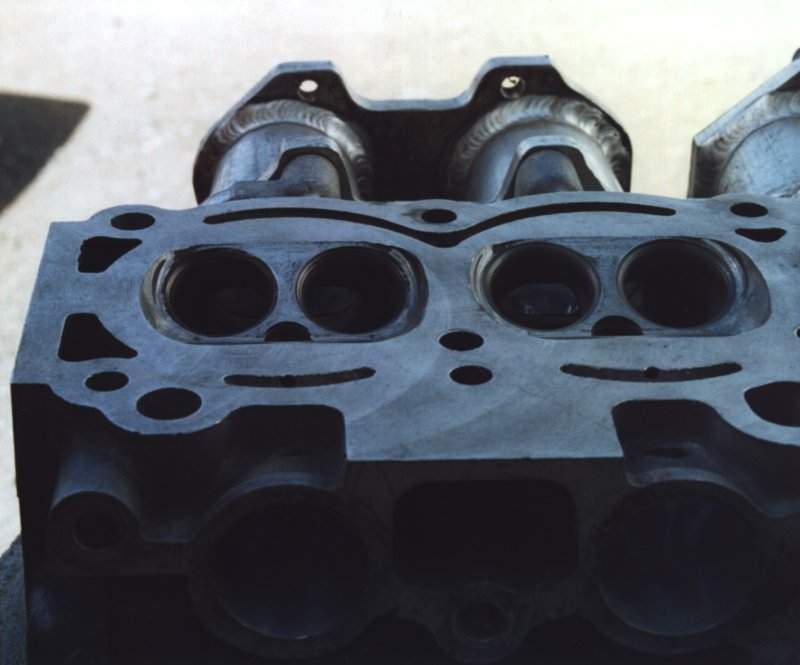
to make it still flow oil under hard cornering. On the right is the same bottom end, but with the 7AFE head that I will be modifying, as described below. |
 |
For details of the planned engine for the Starlet, please go here.
For more motorsport links, try the motorsport section on my links page.
|
site owned by Bill Sherwood. |
|
|
Back to the Index page
Page & contents where applicable © Bill Sherwood